By Lauren Burnham
Ah, the flower crown. A must have accessory of anybody, anywhere! Yes, you too, guys.
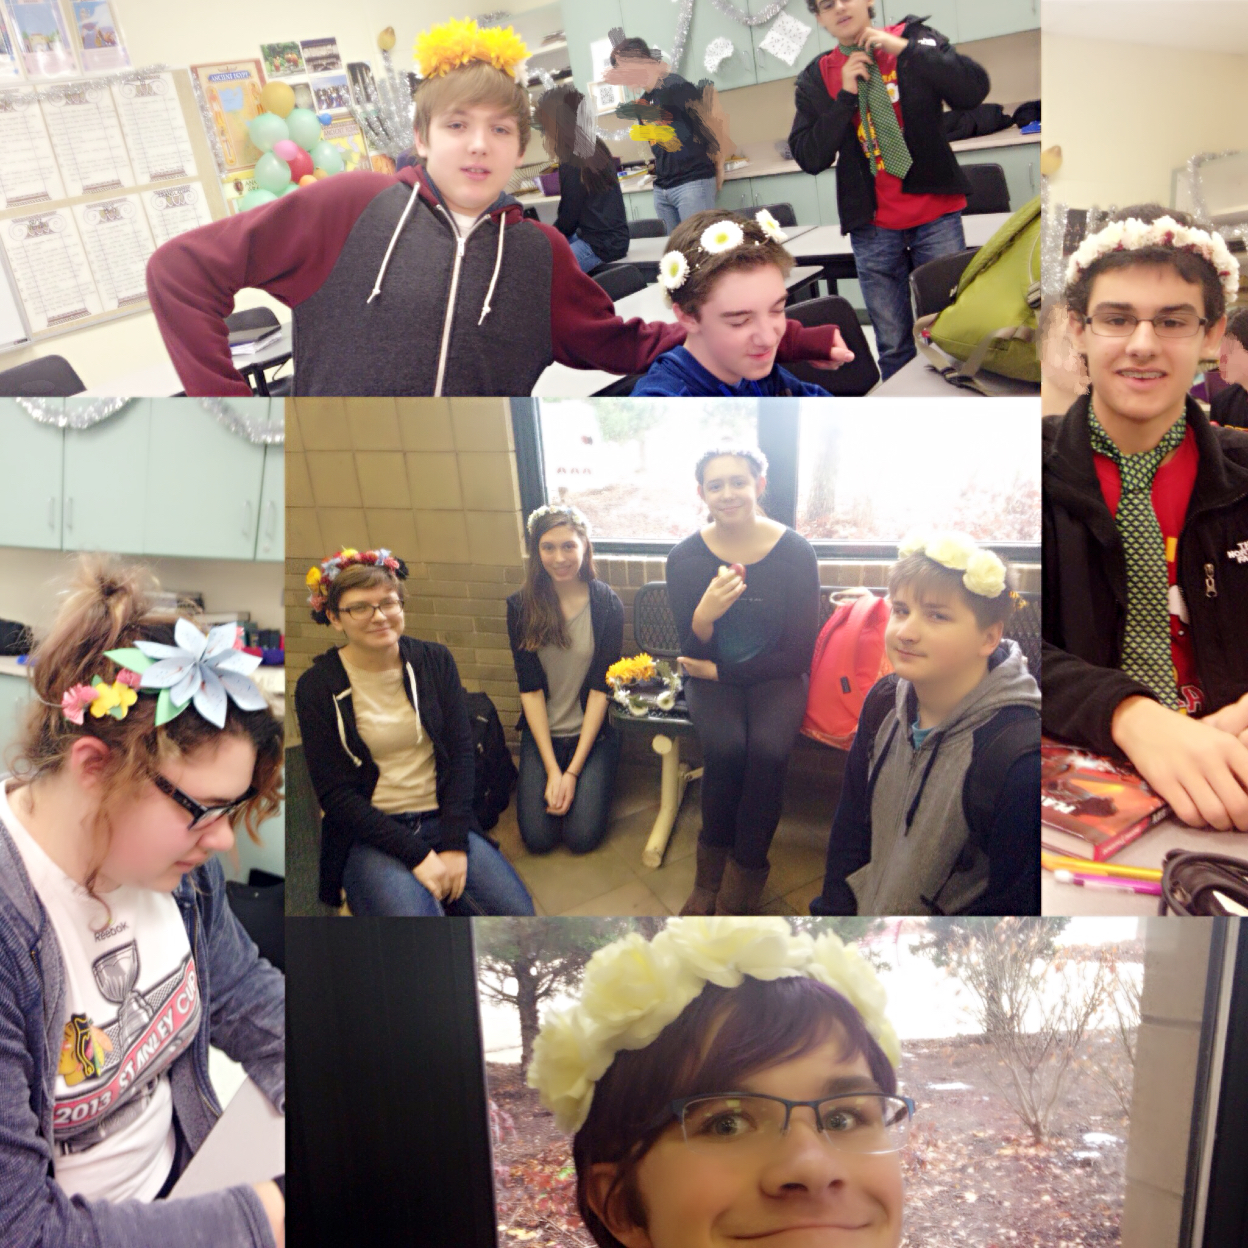
If you’ve noticed, and I won’t be surprised if you haven’t, every Thursday a few people go around the school with flower crowns on their heads. This ‘Flower Crown Thursday’ is something me and my friends thought up as we had a flower crown making party in my basement over two months ago. The reason? Flower Crowns look great on everyone, and they’re an awesome way to get a whole group together and talk about random stuff! Flower Crowns are conversation starters! Jump on the Flower Crown Thursday bandwagon and we will start a flowery revolution. Viva la Flower Crowns! Ahem.
Featuring: tips from my good friend Abby Weiss!
The first thing you want to do is figure out what you want your crown to look like. I themed the one I made “Pumpkin Queen”. I have a tiny pumpkin on my crown. It’s awesome.
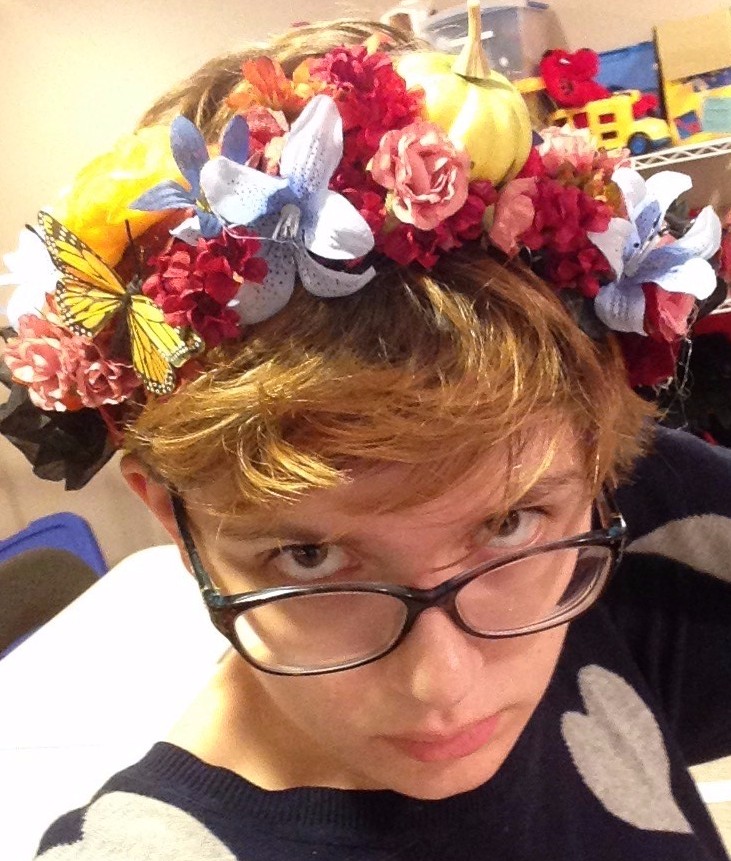 (see? Awesome)
You’ll want to grab your supplies from a craft shop, like Michael’s or Hobby Lobby, so grab some coupons and do some chores. You’ll need:
- Floral wire. Thin is fine. Abby’s Tip: for more shaped crowns or for flowers without stem, use grapevine wire, which is thicker. (Grapevine wire can be bought at Hobby Lobby.)
- Floral tape. For wrapping the wire and flowers
- Hot Glue. Essential.
- Scissors and Wire cutters for thicker stems.
- Superglue. A last resort.
- Fake Flowers. Buy a little over what you think you’ll need. Abby’s Tip: “When purchasing flowers, try to have a color scheme already in mind. Smaller flowers tend to work better, but a few larger ones can work very well for accents.”
- Once you’ve got all of your supplies, you’re ready to start! (I’m handing it over to Abby)
(Note: Leave a bit of stem on the flowers if you can, if you want to wrap tape around it to keep it on)
Thin floral wire:
More likely to stay together, but takes longer and requires using wrapping tape
- Measure the circumference of the head and measure out wire appropriately.
- You might want to weave multiple pieces together to make it sturdier; I sometimes wrap my wire as many as five times around itself.
- Wrap the wire once with wrapping tape. It should stick to itself.
- Now that you have a frame, it’s time to add the flowers.
- Hold the flower stem to the wire, parallel to it, and wrap a piece of tape a few inches long around it multiple times to secure it.
- Repeat this process by adding more flowers. Go in a circular pattern until you’re back where you started.
- Use hot glue to secure the tape or flowers where they don’t stick to the tape.
Grapevine Wire
This takes a lot more hot glue and doesn’t require tape.
- Make the frame by forming a circle with the wire and wrapping the ends around each other.
- Hot glue the base of the flowers and attach them where you want them to be.
- Hold flower until glue has dried.
- Repeat 2 and 3 until you have the desired effect.
Now back to me!
Lauren’s Notes:
- I suggest putting smaller flowers around the sides of the crown if you plan on putting bigger flowers elsewhere. Otherwise, wind them completely around the crown to your hearts content.
- If you’ve found leaves, do not stick them straight up at first. Angle them towards the back or center.
- For flowers without stems, glue them on.
- Decorations! Stick them where you like. Make sure you don’t over do it on the glitter. Glitter never goes away. Ever.
Now you’ve created your crown! Make adjustments as you see fit. Take a million selfies and send them to all your friends. Have a flower crown party. Become part of the flower crown fan club. Worship the flower crown. Become a flower crown. Ascend to flower crown heaven.
Anyone can participate in Flower Crown Thursdays! All you gotta do is get a flower crown and wear it on Thursdays. See you then!